Just starting out with YouTube or podcasting and thinking it’s going to rinse your wallet? Don’t panic. I’ve been there, and in this post, I’ll show you exactly how I built a high-quality setup for the Boostly Podcast without spending silly money.
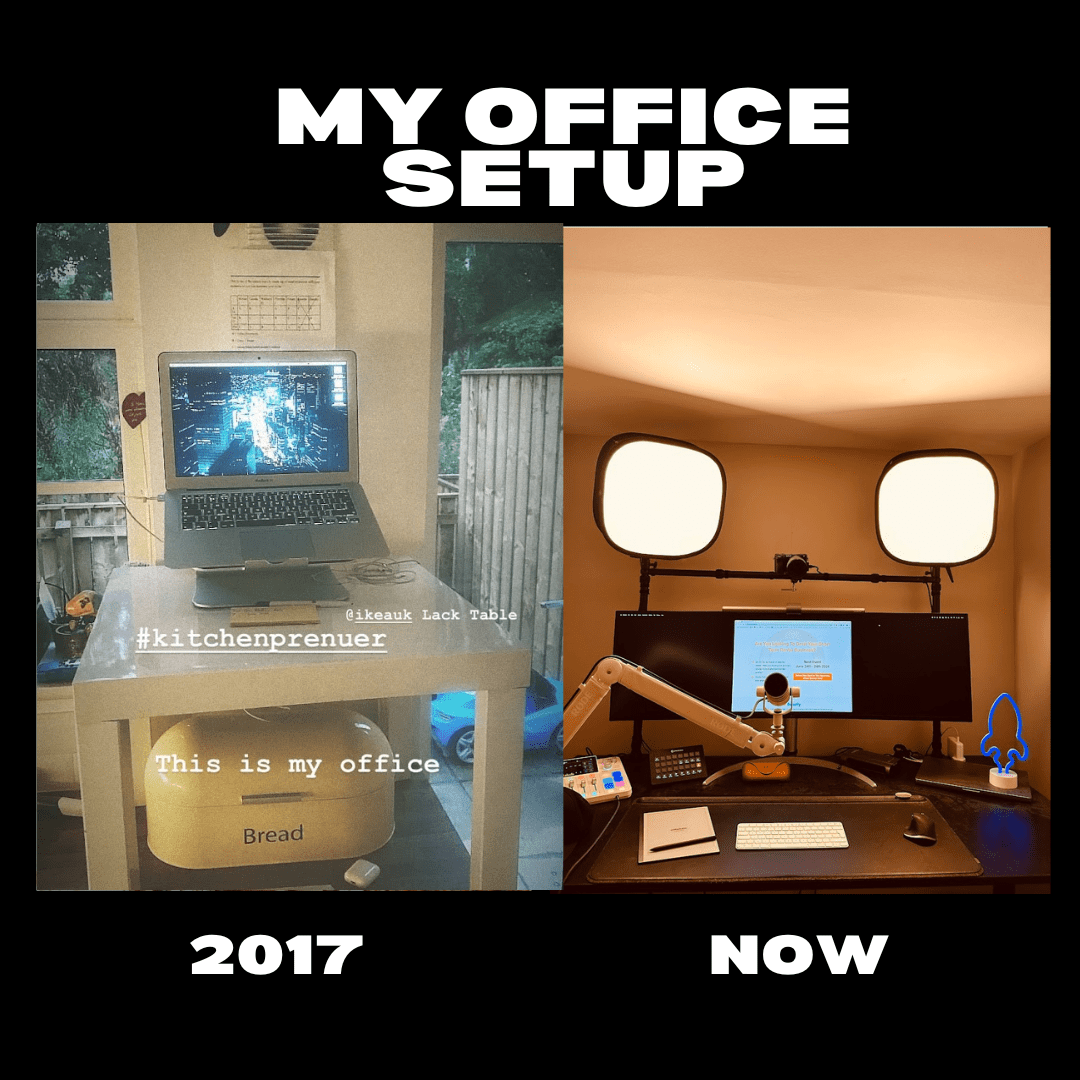
This guide stemmed from numerous direct messages asking about the gear I use and how I got started. Truth is, I began like most creators: with a built-in webcam and the tinny microphone on my MacBook. It did the job… for about a week.
Eventually, I needed gear that made me look and sound legit, but I didn’t want to remortgage the house. After hours of digging through YouTube reviews and scrolling through Amazon, I built a killer, low-cost studio setup. Here’s everything I use— and why it works.
My Go-To Gear for a Budget Creator Studio
1. Camera: Sony Alpha 6600
This one’s a beast. It has great autofocus, crisp 4K, no annoying shutter sound, and works brilliantly in low light. I went from “meh” video to pro-looking footage overnight.
2. Lens: Sigma 30mm f/1.4 DC DN
If your camera doesn’t come with a lens, this is a solid option. It is super sharp, even in low light, and nails the blurred background look. Works brilliantly with the Sony Alpha.
3. Cam Link: Elgato Cam Link 4K
This is what connects your camera to your computer. Plug it in, fire up your recording software, and you’re good to go. You can stream live or record straight into your machine.
4. Power: Andoer Dummy Battery Adapter
If you’re recording for more than 20 minutes at a time, this is essential. It keeps your camera powered like a proper plugged-in device. No more charging halfway through a session.
5. Tripod: TARION Tabletop Stand
Simple, solid, does the job. Holds your camera steady without taking up loads of space.
6. Audio: Rode Procaster Microphone
Clean, warm, studio-quality sound. If you want to sound like a pro without a sound booth, this mic is worth every penny.
Bonus: Want a cheaper option? Try the Blue Yeti USB mic.
7. Audio Interface: Rodecaster Pro
Handles everything audio-related—multiple mics, music clips, phone calls, you name it. It’s basically a plug-and-play studio for your desk.
8. Lights: Elgato Key Light (x2)
Lighting makes a massive difference. These attach to your desk, save space, and give you full control of brightness and tone. Looks pro, feels easy.
9. Stream Deck: Elgato Stream Deck XL
32 buttons to control everything—launch apps, switch scenes, play sound effects, go live. As you grow, this saves you serious time.
10. Monitor: LG UltraWide 38”
Big screen = better workflow. I can edit, record, and monitor everything in one view. It’s curved, sharp, and makes me feel like I’m running a media empire (even if I’m just recording in a spare room).
Final Thoughts
This might look like a long list—but don’t stress. You don’t need to buy everything at once. Start with the basics (camera, microphone, and light), and upgrade as needed.
The key is to make sure people can see you clearly and hear you properly. If you’ve got those two nailed, the rest is just a bonus.
So, if you’re just getting started, don’t waste time overthinking it like I did. Steal this setup, skip the endless Googling, and get on with creating because the content isn’t going to film itself.